Email Inbox
This page guides you through setting up the Email inbox.
How to set up an Email channel?
To enable the Email Channel, you'll need to turn on IMAP and create an app-specific password in your email account. This example demonstrates the steps for Gmail.
Step 1: Enable IMAP
Before you start, make sure IMAP access is enabled in your Gmail settings (opens in a new tab).

Step 2: Create an App-Specific Password
Create an app-specific password and save it.

- Enable Two-step verification

- Click "App passwords" under the "Signing in to Google" section on the Security page.

- Select the Mail app, select a device, and click "GENERATE". Use the generated password to configure IMAP/SMTP.

For detailed instructions, refer to this guide (opens in a new tab).
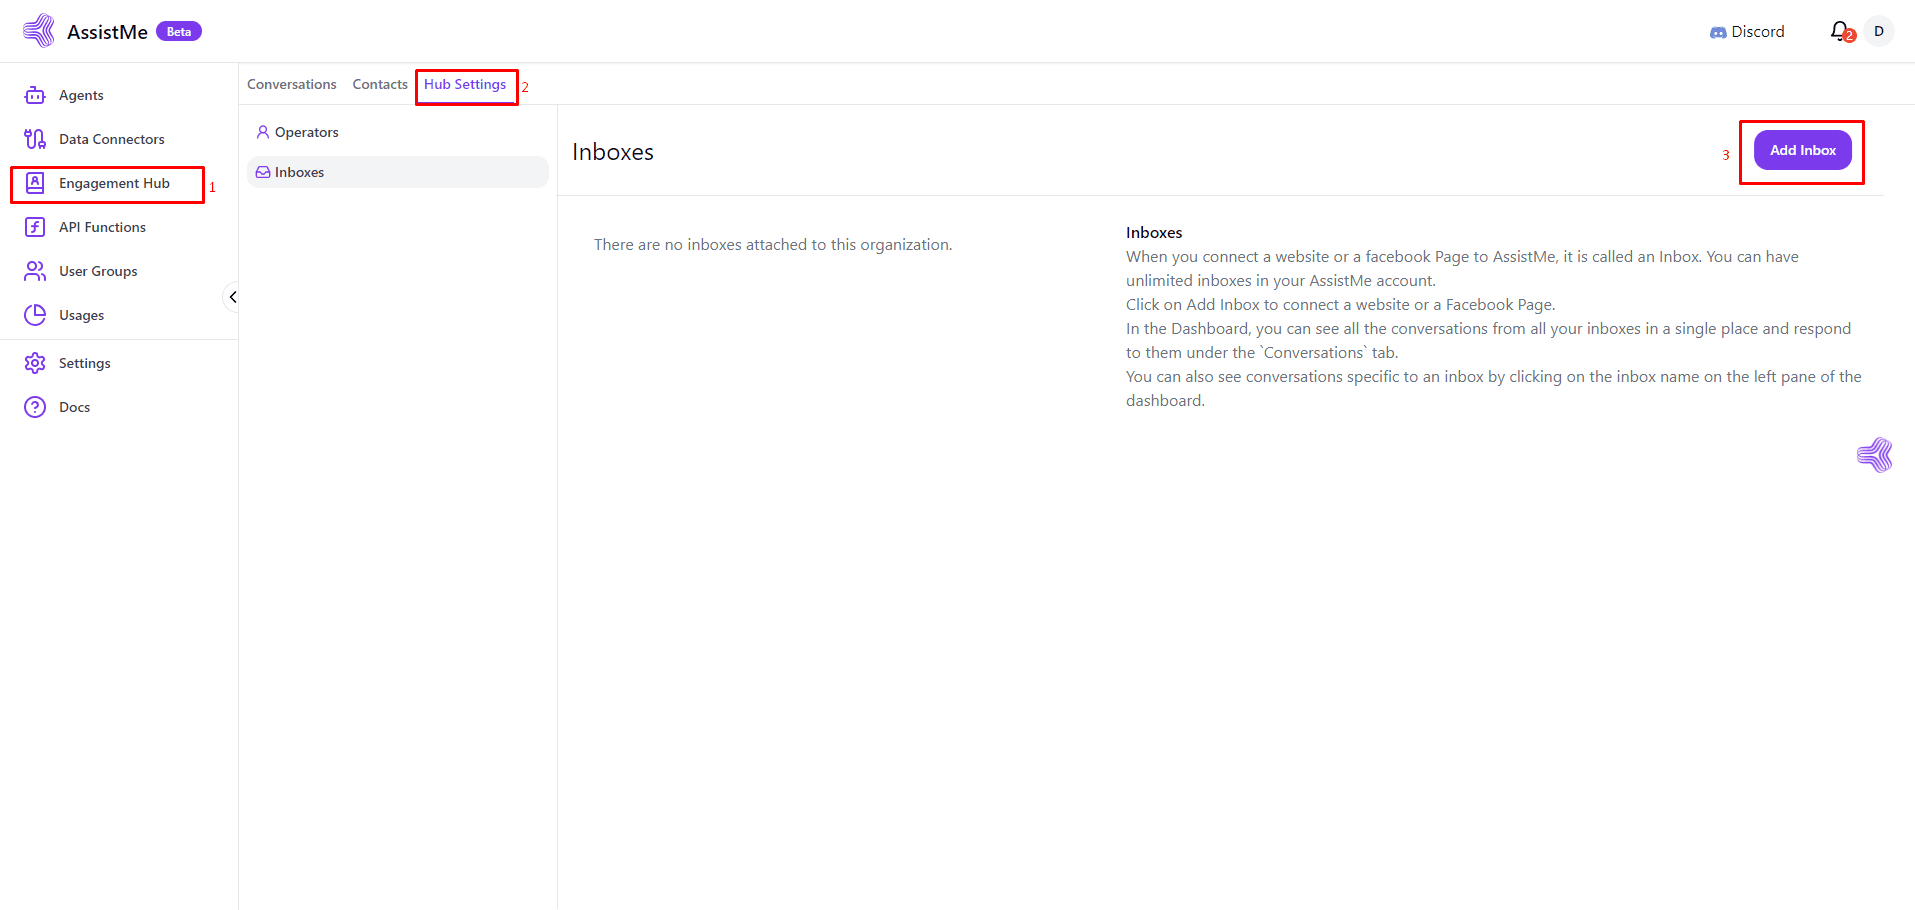
Step 3: Add Inbox in Engagement Hub
Navigate to Engagement Hub → Settings → Inboxes → Add Inbox.
Step 4: Select the Email Icon
Select the Email icon.

Step 5: Choose the Other Icon
Choose the Other icon.

Step 6: Fill in the Required Fields
Fill in the required fields in the form and click Check Connection. If successful, the Save button will become enabled.
SMTP
- From Email: The email address you wish to connect.
- Password: The app-specific password created earlier.
- Host: The SMTP host of the email service you are using.
- Port: The SMTP port of the service.
IMAP
- Host: The IMAP host of the service you are using.
- Port: The IMAP port of the service.

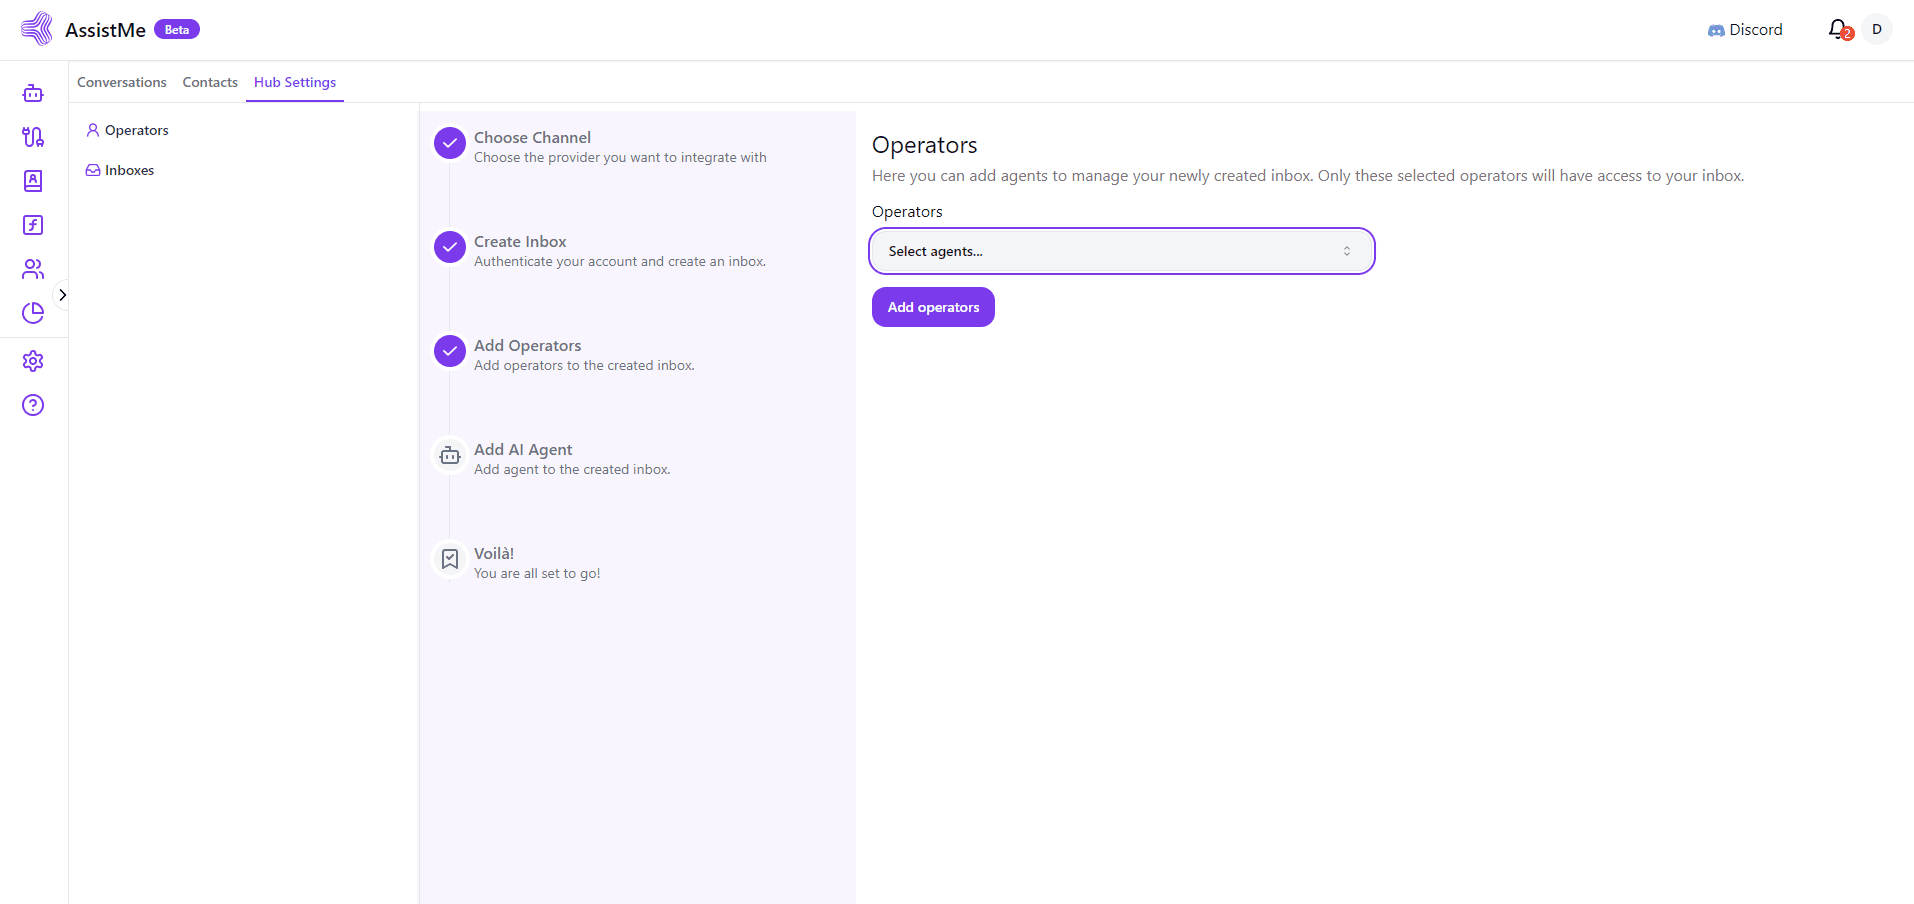
Step 7: Add Operators to Your Email Inbox
Add operators to your Email inbox.
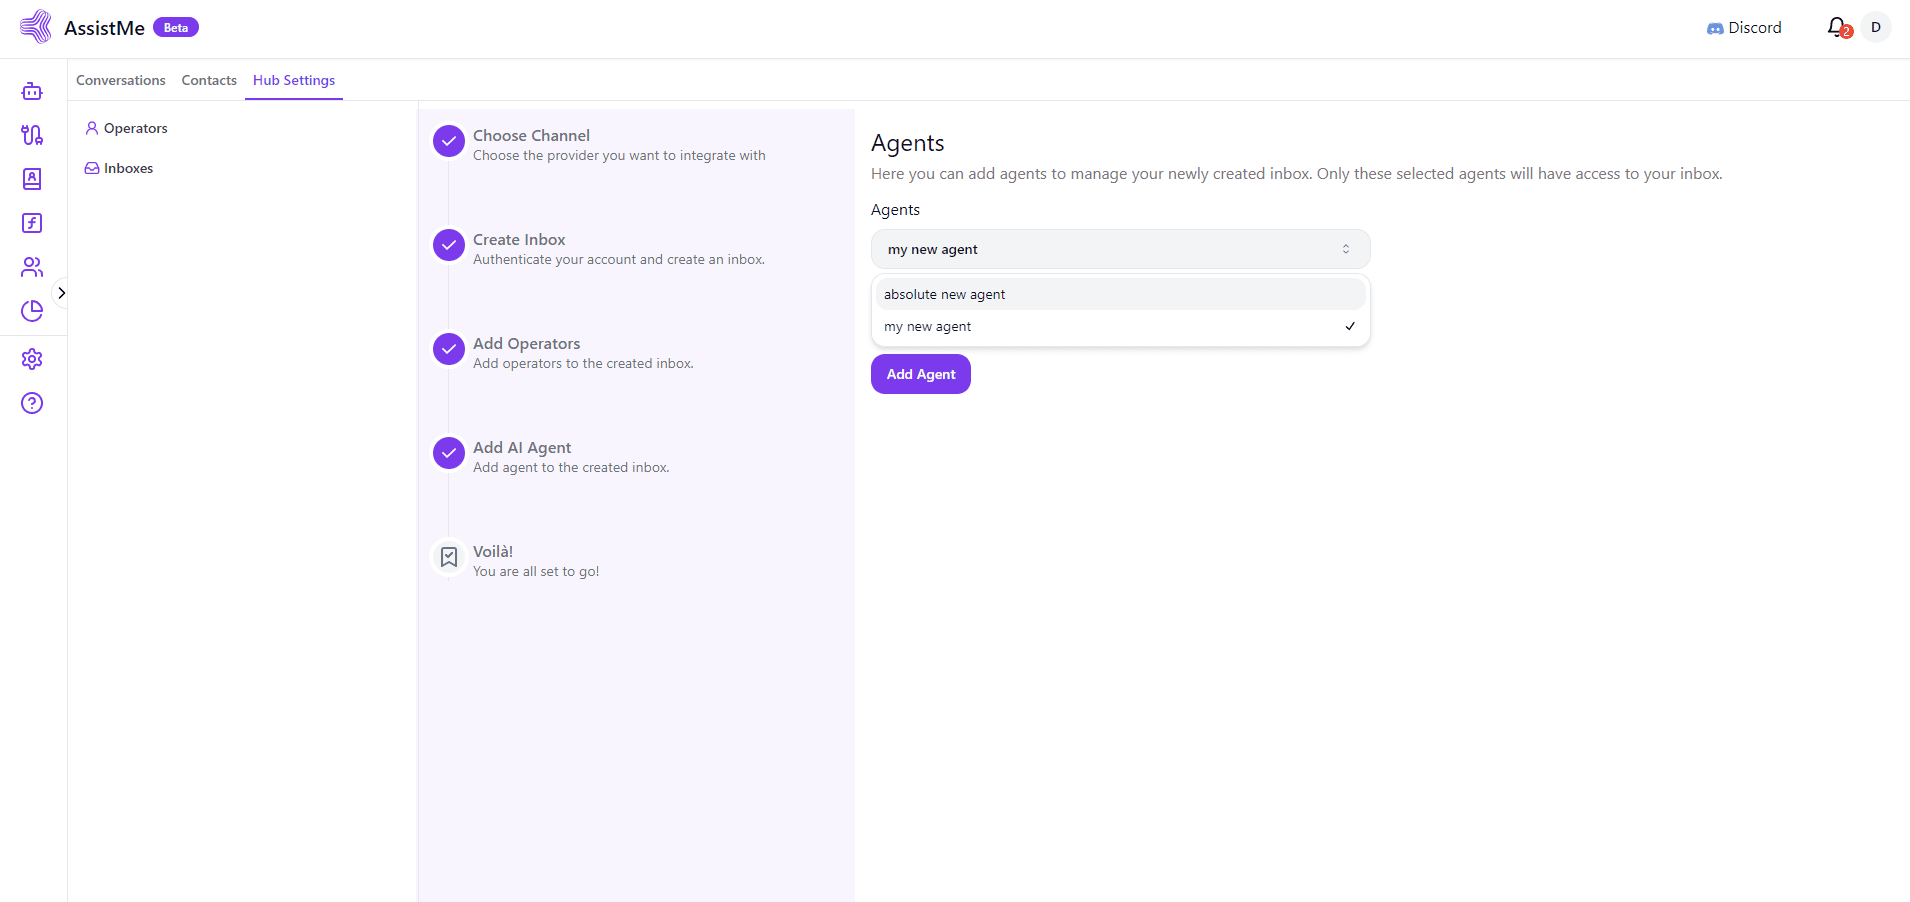
Step 8: Add Agents to Your Email Inbox
Add agents to your Email inbox.
Congratulations! You have successfully created an email inbox. Now, whenever a customer sends a message to your email, you will be able to view and respond to it directly through our service.